

Yaesu FT1DR APRS Notes
Disappointed that the FT1DR doesn’t support CTCSS tones on APRS. So, you can’t use Voice Alert mode. Seems like such a simple feature to add.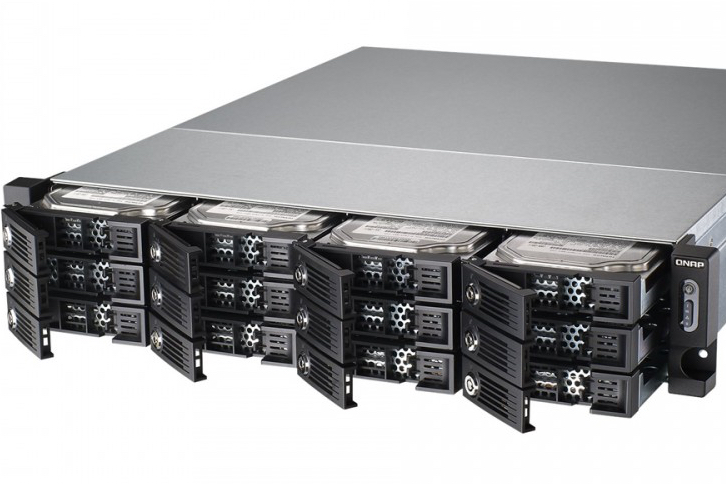
Hard Drives and mSATA Drives for the QNAP TVS-1271U-RP-i5-16G
I found a good hard drive solution for the QNAP TVS-1271U-RP-i5-16G. Going with: Crucial MX200 500GB mSATA Internal Solid State Drive – CT500MX200SSD3 HGST Deskstar NAS 3.5-Inch 6TB 7200RPM SATA III 128MB Cache Internal Hard Drive![[Solved] Subaru Bluetooth Not Automatically Connecting To Phone](https://k7kez.com/wp-content/uploads/2015/02/2015-02-04-15.03.07.jpg)
[Solved] Subaru Bluetooth Not Automatically Connecting To Phone
I have a 2014 Subaru Forester. Previously, I was using an iPhone 4S on iOS 7 and every time I started the car, the phone would automatically connect to Bluetooth. Worked great. I switched to an iPhone 5S on iOS 8 and that stopped working. I tried deleting and...Grep Through Files Recursively
Need to find a string nestled somewhere in a ton of subdirectories? First cd to the lowest common denominator, then run: grep -lir “something” *Nexus One Car Dock [Mini Review]
The Nexus One Car Dock is well constructed and sturdy. It communicates with your phone via Bluetooth. It works ok, but there is one show-stopper in my book. NO LINE LEVEL AUDIO OUT port. If you want to connect it to your car stereo and listen to audio, you have two...Nexus One Desktop Dock [Mini Review]
The desktop dock is sturdy and attractive. Comes with an extra power cord (so you can use the one from the phone elsewhere) and an audio out cable (1/8 -> RCA). When you cradle the Nexus One, it launches the “clock” app which shows time, date, weather,...Nexus One (Android) Gripes
Email Icons Don’t Show Unread Email Count Unlike the iPhone, my Nexus One does not show the number of unread messages on the mailbox icon. Screen Sensor Misalignment About once a week, I have to restart my Nexus One because the screen sensor is misaligned....Pogo Plug Read Only After Power Cycle?
Don’t forget to remount in rw mode: mount -o rw,remount / Also, cron needs to be started: /opt/etc/init.d/S10cron
Recent Comments